

How to crochet ballet flats?
Crochet ballet flats are elegant, comfortable, and allow you to customize every detail to your liking. Plus, you can adapt them to your needs.
In this guide, we will show you step by step how to crochet your own ballet flats, from material selection to the final details. Whether you are a beginner or already have experience, here you will find everything you need to achieve a professional and functional result.
Choosing your materials: the first step to success
Choosing the right materials is key to making your crochet ballet flats comfortable, durable, and beautiful. Here’s what you'll need:
- Cotton or wool yarn. Cotton is ideal for lightweight and fresh footwear, perfect for summer. Wool, on the other hand, is warmer and softer, ideal for winter. Choose a medium-weight yarn to give your crochet ballet flats structure and flexibility.
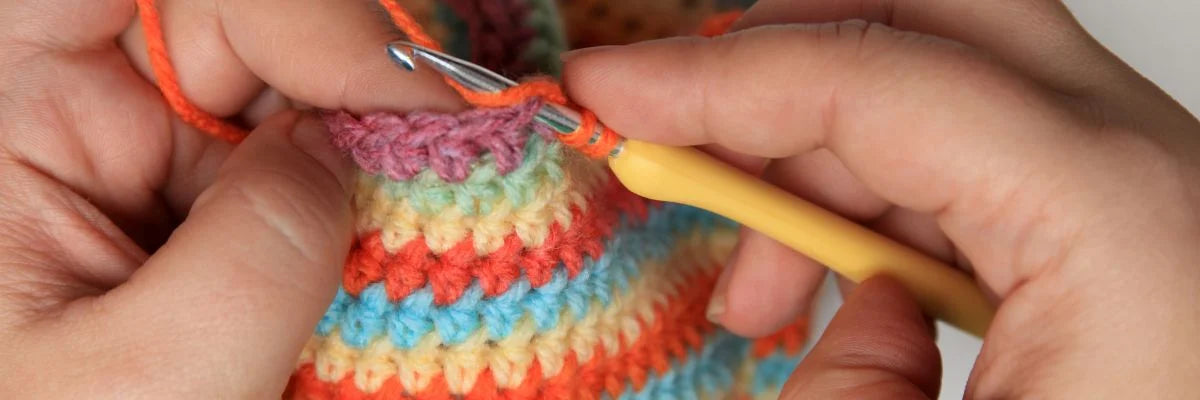
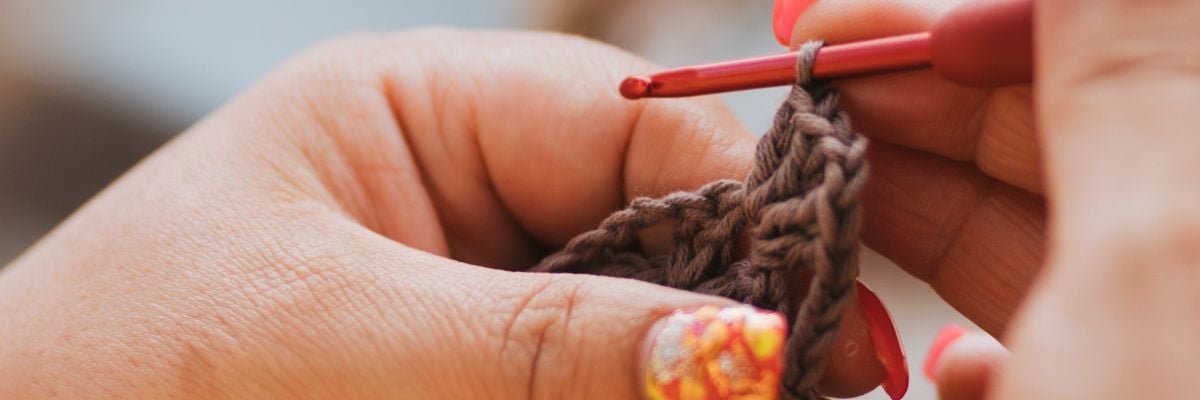
- Crochet hook. It should match the yarn thickness. For medium yarns, a 3.5 mm to 4.5 mm crochet hook is perfect.
- Sole insert. You can buy one or make it from rubber, felt, or cardboard covered with fabric.
- Yarn needle. Needed to weave in ends. Also for sewing additional details onto your crochet ballet flats.
- Scissors and stitch markers. Scissors will be useful for cutting the yarn. Markers will help you follow the pattern of your crochet ballet flats with precision.
Preparing the design: before you start crocheting
Before you start crocheting, decide what you'd like your crochet ballet flats to look like. Do you prefer them with or without a heel? Do you want to add a strap or decorative ties?

Here are some steps to plan your project:
- Size and shape. Measure your foot to determine the exact size you'll need. You can make a paper template to use as a reference while you crochet. Remember that the ballet flats should fit comfortably, but not too tightly.
- Color pattern. Decide whether you'll make them in a single color or prefer a multicolored design. Contrasting colors can make the crochet details stand out more. Have you seen our new Gominola Premium yarn yet?
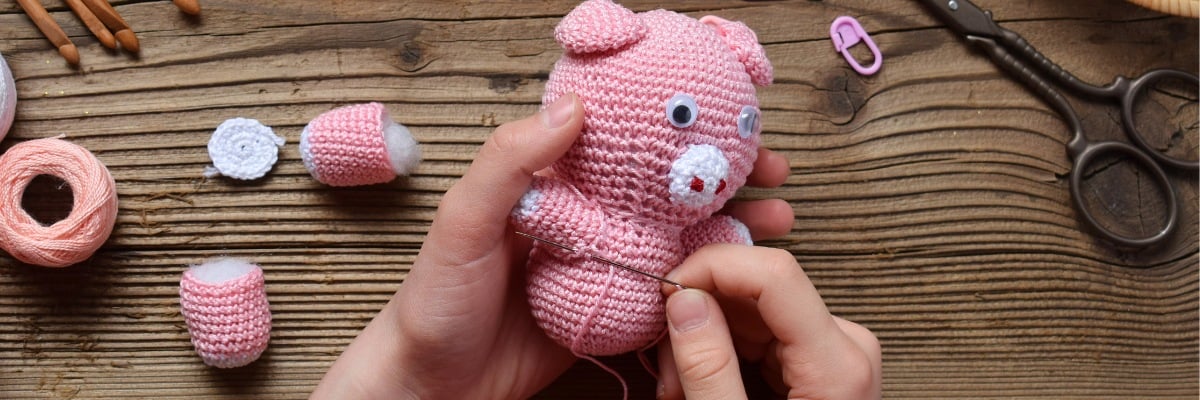
- Decorative details. You can add embellishments such as crochet flowers, buttons, or ribbons. These small details transform simple ballet flats into unique pieces.
Crocheting the sole: the base of your ballet flats
The sole is fundamental for the comfort and durability of your crochet ballet flats. Here's how to crochet it:
Step 1: create the foundation chain
Start with a chain of approximately 30 to 40 stitches. Use your foot size as a reference. This chain will form the length of the sole.
Step 2: first round
Single crochet stitches along the foundation chain. When you reach the last stitch, single crochet three stitches into the same space. Then, turn the corner and continue crocheting along the other side of the chain.
Step 3: additional rounds
Continue crocheting in a spiral. Increase stitches at the ends to give the sole an oval shape. Depending on the thickness you want, crochet 3 to 5 rounds. Remember to try the sole against your foot to ensure it fits correctly.
Step 4: double sole options
For extra comfort, crochet two soles and join them with single crochet stitches around the edge.
Constructing the body of the crochet ballet flats: where the shape comes to life
Once the sole is complete, it's time to shape the body of the shoe.
Step 1: first round
Insert the hook into the first stitch of the sole and single crochet around. This will form the side walls.
Step 2: toe
As you progress, decrease stitches at the front to create the toe. Do this by crocheting two stitches together every few stitches.
Step 3: side walls
Continue crocheting in a spiral until the shoe covers the top of your foot. If you prefer a more closed design, you can crochet more rounds. If you want a more open design, crochet fewer.
Step 4: adapt the heel
If you prefer a full heel, continue crocheting around the shoe. For a low or open heel, fasten off the yarn when the height is appropriate.
Decorative details: personalize your crochet ballet flats

Decorative details will make all the difference. Here are some ideas to personalize your crochet ballet flats:
- Decorative edges: add an edge to the opening using slip stitches or double crochet stitches. This reinforces the shoe and adds an elegant touch.
- Straps and ribbons: crochet a strip of single crochet stitches and sew it to both sides of the shoe. You can also add ribbons to tie around the ankle.
- Embellishments: decorate with flowers, buttons, or beads on the front or side. These details add personality to your crochet ballet flats.
Tips for a professional finish
To ensure your crochet ballet flats have a flawless finish, follow these tips:
- Maintain consistent tension: even yarn tension is key for regular stitching and a well-formed shoe. Practice maintaining the same pressure on the yarn as you crochet.
- Try on as you go: don't hesitate to try on the ballet flats as you progress. This will allow you to adjust the size and shape as needed.
- Finish neatly: make sure to weave in all loose ends properly at the end, using a yarn needle. This will prevent the fabric from unraveling and ensure the durability of the shoe.
- Block your ballet flats: if the yarn allows, block the ballet flats after you finish crocheting them. To do this, dampen them lightly and shape them. Do this on a flat surface.
Frequently Asked Questions about Crochet Ballet Flats
What type of yarn is best for making crochet ballet flats?
The ideal yarn for making crochet ballet flats varies depending on the season or intended use. For summer or spring, 100% cotton is an excellent choice due to its coolness and breathability. If you're looking to make ballet flats for colder climates, merino wool or wool blends with acrylic are highly recommended, as they provide warmth and comfort. You can also opt for bamboo yarns, which are soft and elastic, helping the ballet flats fit the foot better. The choice of yarn will affect both the comfort and durability of the ballet flats, so choose one that combines softness and strength.
How to adjust the size of crochet ballet flats for different sizes?
Adjusting the size of crochet ballet flats for different sizes is simple if you follow a few key steps. First, measure the foot you are crocheting for and make sure the sole you crochet matches those measurements. If you need to make the ballet flat larger, simply add more rounds to the sole or increase stitches in the oval sections. If the sole turns out too large, decrease stitches in those same areas. You can also adjust the size by using a finer or thicker yarn, and a proportionally sized crochet hook. These changes will affect the overall size of the piece and help you achieve the perfect fit.
How to start making crochet ballet flats for beginners?
To start crocheting ballet flats as a beginner, the first step is to create the sole. Begin by crocheting an oval base using single crochet or half double crochet stitches. The sole is crocheted in circular rounds, increasing stitches at the corners to shape it. Once the sole is complete, pick up stitches around it to begin crocheting the body of the ballet flat.
Continue crocheting in single crochet stitches until you reach the desired height, and to shape the instep, begin decreasing stitches at the front of the shoe. Leave the top open for the ankle. For a personal touch, you can add details like straps or embellishments. This project is perfect for beginners as the stitches used are simple and the pattern is easy to follow.
Need inspiration for future creations?
Once you've mastered the technique of crocheting ballet flats, you can expand your skills to other types of footwear and accessories.
If you're looking for inspiration, from Lanas Rubí we recommend discovering these Mr. Rabbit booties:
And also, our slippers:


