

How to crochet a fringed bag?
Would you like to learn how to make a practical, lightweight, and personality-filled boho-style fringed crochet bag?
We loved this idea too! As usual, we’ll guide you step-by-step so you can learn how to make this fringed crochet bag, at your own pace, hook in hand.


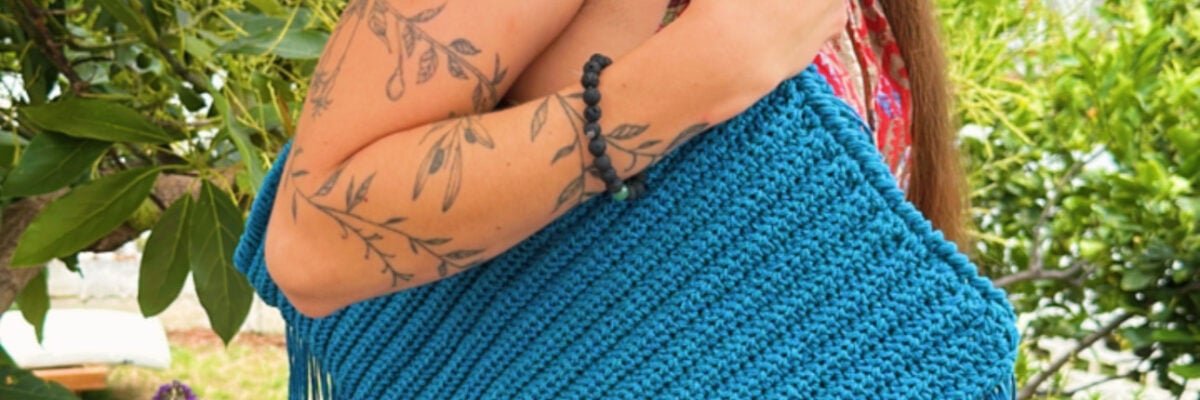
This exclusive design is called Betancuria, an original creation by Anuskayhome. It's the perfect size for various occasions: from a day at the beach to a day at the office, a weekend getaway, or even a relaxed urban look.
Thanks to the subtle sheen of the Rubí Iris yarn, the result is visually appealing, lightweight, and very comfortable to carry.
Let's start this creative and functional crochet project!
Why is this fringed crochet bag perfect for summer?
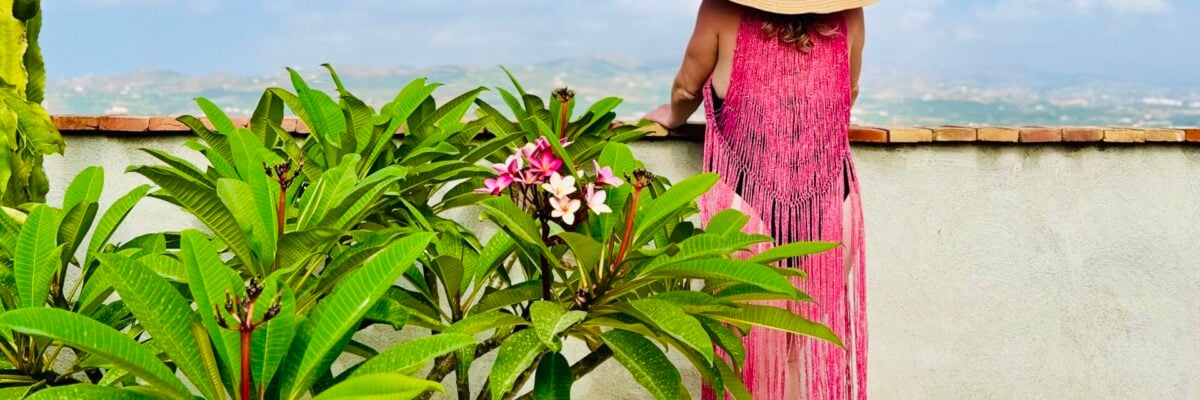
Because it's versatile, comfortable, lightweight, and aesthetically charming. It easily adapts to any summer outfit, and best of all: it's handmade by you. Plus, you can customize it completely: total length, color combination, fringe length, or handle type.
The possibilities are endless, and every detail will reflect your personal style. This fringed crochet bag pattern is ideal for those who want to combine functionality with artisanal design.
What materials will we need for the Betancuria bag?
- 9 skeins of Rubí Iris (color 105) – approximately 450 g in total
- 4 mm crochet hook
- Tapestry needle
- Stitch markers
The entire project is worked with double strand, combining the skeins from the beginning to achieve more body and consistency in the fabric. This technique gives the bag structure and improves its durability.
What stitches will we use in this crochet pattern?
- CH: Chain stitch
- SC: Single crochet
- HDC: Half double crochet
- Crab stitch (reverse single crochet)
Structure of the fringed crochet bag
- 2 front pieces
- Central join
- Outer edges
- 2 handles
- Fringe decoration
Before starting, visualize the final design: a fresh and summery bag, with a fluid drape, decorated with movable fringes that add dynamism, texture, and bohemian style.

Step 1: Crocheting the base of the bag
- Start by joining two skeins to work with double strand.
- This bag is made of two identical parts, which will be joined later.
Round 1
- Chain 60 (CH) with double strand.
- Chain 2 (counts as first stitch).
- In the third chain from the hook, start half double crocheting (HDC) into each stitch.
- You will have a total of 60 HDC.


Round 2
- Turn your work and chain 2.
- HDC 59, working only into the back loop of each stitch (the back of the top "V").

Rounds 3 to 24
- Repeat the same procedure as the previous round.
- At the end of this section, you will have a piece with body before starting the decreases.

Rounds 25 to 40
- Chain 2 and work only 38 HDC per round.
- Continue crocheting with this amount until you reach round 40.

Step 2: Edges of each piece
- With the piece oriented according to the pattern or photo, attach the yarn to the top right corner.
- Single crochet (SC) around the entire perimeter.
- Repeat this procedure on the second front piece to define the outer edges of the bag.


Step 3: Bag handles
- Attach the yarn to the top right corner.
- Chain 45 (CH).
- Join the chain to the top left corner with a slip stitch (SL ST).
- Turn your work and make 2 additional rounds of SC over the chain.
- Fasten off.


Place both pieces wrong sides together and use stitch markers for greater precision in joining. The handles should be firm but comfortable for carrying the fringed crochet bag.
Step 4: Joining the two pieces
- Thread the tapestry needle with a single strand of yarn.
- Join both parts by taking only the inner loops of the edges, following the line marked by the pattern.
- This step ensures that the bag has a clean and sturdy finish.


Step 5: Final edge of the bag
- With double strand, work a crab stitch edge around the entire perimeter of the bag.
- Also include the handles for a uniform and firm finish.
- This edging reinforces the structure and improves the aesthetic of the project.
Step 6: Decorative fringes
- Cut yarn strands 40 cm long.
- Fold them in half and attach them to the bottom edge of the bag, forming the characteristic fringes.
- Adjust the density according to your visual preference.


Customize your fringed crochet bag
- Lengthen the handles to use it as a cross-body bag.
- Alternate colors or create two-tone fringes for a more striking effect.
- Add decorative beads or charms among the fringes for an artisanal touch.
Always hand wash with cold water and lay flat to dry to maintain the original shape of the bag.
Frequently asked questions about this fringed crochet bag
Is this project suitable for beginners?
Yes. You only need to master the basic stitches: chain stitch, half double crochet, single crochet, and crab stitch. It's an excellent option if you're taking your first steps in crochet and want a useful and decorative project.
How long does it take to complete?
It will depend on your pace, but you can finish it in 2 or 3 relaxed evenings. It's a fluid project, ideal for enjoying while you relax and develop your crochet skills.
Is it possible to modify the size of the bag?
Of course. You just need to adjust the length of the foundation chain and the number of rounds. This way, you can adapt it to your style or specific needs without losing the charm of the original design.
Is it a sturdy piece?
Yes. The combination of double strand and Rubí Iris yarn provides firmness and durability, without sacrificing lightness and comfort.
As you can see, crocheting a fringed crochet bag is simpler than it seems. With the right materials, some patience, and a lot of enthusiasm, you'll have a unique handmade piece. We'd love to see your version. Share your creation on Instagram and tag us so our community can admire your talent and creativity!
And don't miss any of Lanas Rubí's blog posts here!


