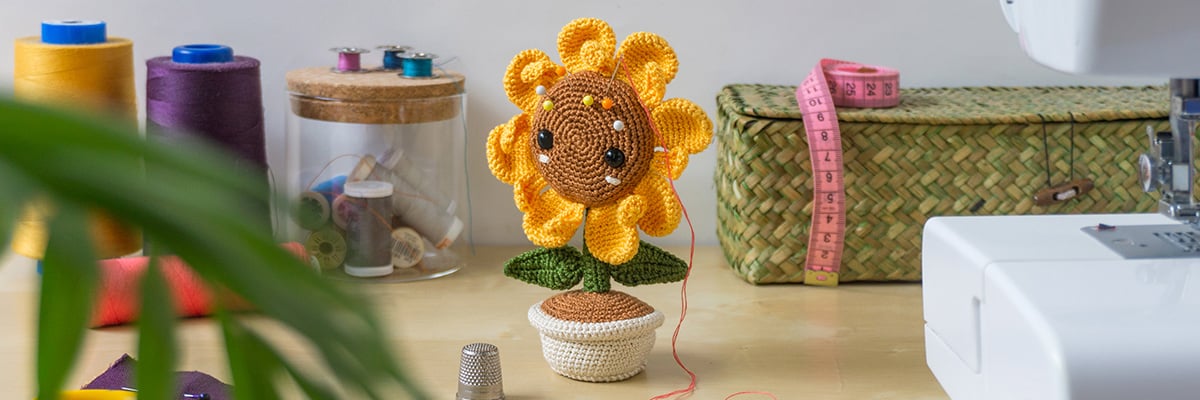
How cute! Another creation byGallimelmasthat has stolen our hearts and is also very useful for crocheters or sewing enthusiasts. Stay and discover step-by-step how to crochet this original pincushion.
MATERIALS
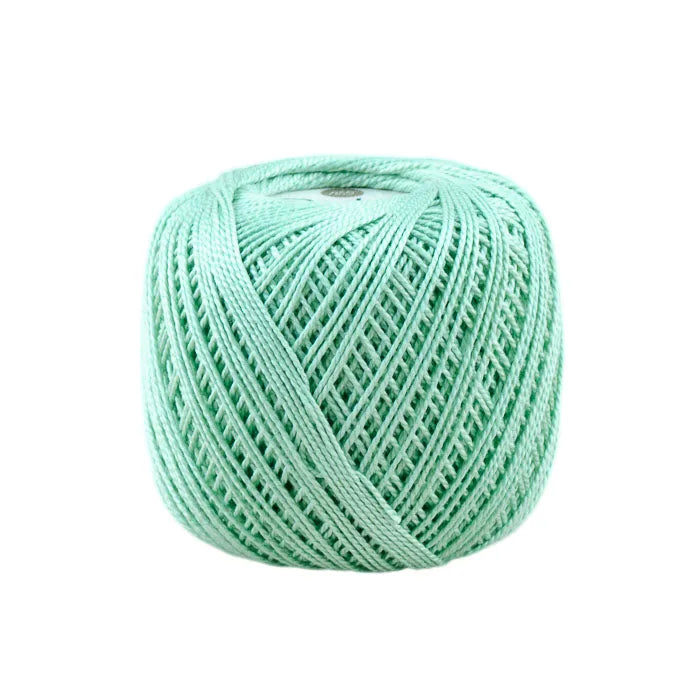
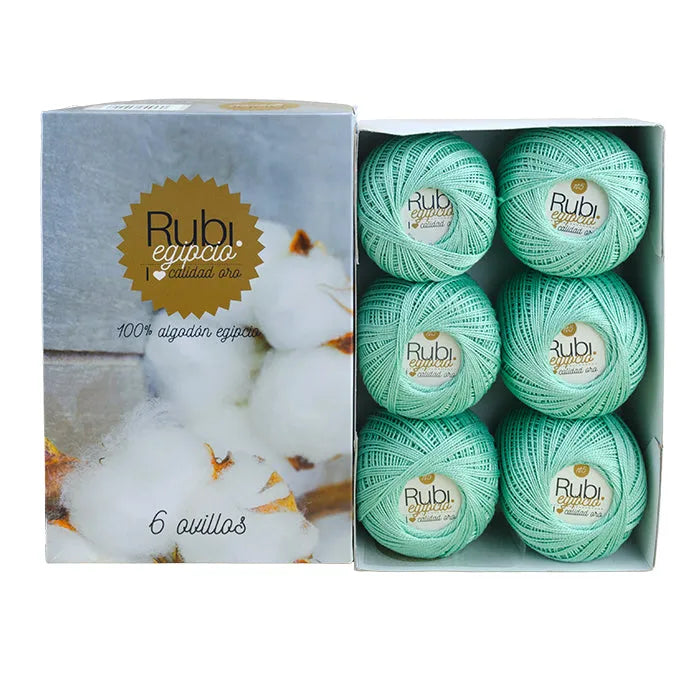
Perlé Rubí Oro5/50: 1 ball Col. 002 (Ecru), 1 ball Col. 403 Dark Green, 1 ball Col. 501 Brown and 1 ball Col. 102 Yellow
1.5 mm crochet hook
Tapestry needle
Stuffing
1 pair of 8 mm safety eyes
1.5 mm thick wire
Pliers
2-3 small stones for weight
Scissors
HOW TO CROCHET THE PATTERN
DIFFICULTY: MEDIUM
MEASUREMENTS
13 cm high x 8 cm wide approx.
Crochet each piece as indicated in the pattern, taking into account the stitch abbreviations and the color used for each.
All rounds are worked in a continuous spiral, except for flat pieces (such as the stem or loop) which are worked by turning the work at the end of each round.
Stuff and embroider details when the pattern specifies for your convenience.
Join the pieces according to the assembly instructions and enjoy adding details.
STITCH ABBREVIATIONS:
Sc= Single crochet
Sl st= Slip stitch
Ch= Chain stitch
Hdc= Half double crochet
Dc= Double crochet
Tr= Treble crochet
Inc= Increase
Dec= Decrease
Back loop only= Work stitch into back loop only
[ ]= Work stitches inside brackets into the same stitch
*Cut, leaving a long tail for sewing later. Do not stuff. Shape them to cup*
STEM (x1):
With Perlé Rubí Oro 5/50 Col. 403 (Dark Green)
Start:25 Ch (25 sts)
R1:Starting in the 2nd Ch from the hook:
1 Sc in each stitch (24 sts). 1 Ch and turn.
R2-R8:1 Sc in each stitch (24 sts). 1 Ch and turn.
R9:1 Sc in each stitch (24 sts)
*Cut, leaving a very long tail for sewing later.*
LEAVES (X4):
With Perlé Rubí Oro 5/50 Col. 403 (Dark Green)
Start:11 Ch (11 sts)
*Work on both sides of the chain*
R1:Starting in the 2nd Ch from the hook:
1 Sl st + 2 Sc + 2 Hdc + 3 Dc + [2 Tr] + [5 Tr] + [2 Tr] + 3 Dc + 2 Hdc + 2 Sc + 1 Sl st (25 sts)
*Cut, leaving a long tail for sewing later. Join two leaves wrong sides together, with right sides facing out, and sew them together using the tapestry needle. Fasten off and leave a long tail for sewing to the stem later.*
1)Sew the strip of sepals to the back of the head, on round R18, in a circle with the points facing outwards.
2)Sew the large petals to the head, distributing them around it, between rounds R13 and R15.
3)Sew the small petals into the gaps of the large petals, on R13 of the head.
4)With Perle Rubí Oro 5/50 col. 002 (Ecru), embroider a pair of rosy cheeks under the eyes.
5)Sew the sides of the stem together to form a cylinder. Flatten one end and sew to the head exactly on round R24. Leave the other end free to insert the wire.
6)Using pliers, cut a piece of wire a few cm long and fold it in half. The folded end is what we will insert into the stem.
7)The other end with the two wire tips will be inserted through the center stitch of the soil, with the right side facing the stem. Use scissors or a crochet hook to open the stitch for the wire, but do not force it.
8) Insert the two wire tips also through the center stitch of the pot so that the pot faces upwards and the wire comes out at the base. Bend the tips with pliers so they don't prick.
9)Sew the stem to the soil between the starting rounds and R1.
10)Stuff the pot with 2-3 small stones at the bottom and stuffing on top. Sew the soil onto the pot on the wrong side of R18, so that the rim created by folding the last two rounds of the pot is not lost.
11)Bend the ends of the wires again, adjusting the height of the sunflower well and leaving them horizontal, flush with the pot. This will give it all the support and stability it needs.
12)Sew the base of the pot to it to hide the wire and give more weight to our pincushion.
13)Place the leaves on both sides of the stem and sew them.
14)Sew the scissor loop to the back of the head (in the green area), at the height of the join with the stem. Only the two ends need to be sewn, so that the scissors can enter and be held by the loop.
15)Add pins, needles and whatever you usually use for your projects to the head and scissors to the loop. It's ready!
FINAL RESULT
Sobre el autor
Gallimelmas
Knitter Pro
Gallimelmas is Melanie Mariscal, “Mel”, an amigurumi and crochet designer from Granada with her own universe of characters. Author of the book
Amigurumis e Imaginancias (
made with Lanas Rubí cotton yarns) she goes beyond dolls to create bags, cushions, and pincushions using colourwork, textures, and embroidery. She collaborates with Lanas Rubí by sharing her creativity and teaching techniques step by step.
This visor knitted by Own Style DIY is the perfect accessory for this summer. Protect yourself from the sun with style and creativity.
It's a very quick project to make. You have the smaller and th...
We love it! A project created for animal lovers that instantly captivated us. Perfect for summer due to its colors, totally on-trend! Your dog will be in style, as well as comfortable. Stay and d...