


Bubela Jumpsuit
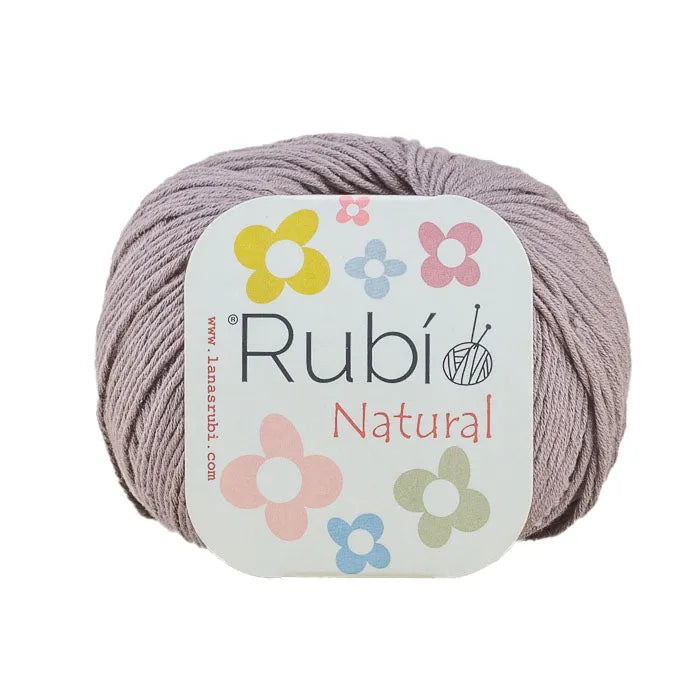
This crocheted romper is a basic for baby layettes. Cucapuntoes has chosen our Rubí Natural cotton in turquoise, a unisex color, which together with the stitches used make this pattern a beautiful and delicate design for a newborn's first outfit.
Materials
- Newborn size – 2 balls
- 3-6m size – 3 balls
- 6m size – 3 balls
- 6 buttons 10mm
- 3.00 mm crochet hook
- Two stitch markers, scissors and tapestry needle.
Gauge Swatch
With 3mm crochet hook and double crochet: 10cm ×10cm = 21 stitches × 12 rows
Stitches used and abbreviations
sl st = slip stitch
sc = single crochet
dc = double crochet
ch = chain
fpdc = front post double crochet (worked 2 rows below)
inc = increase (2 stitches in the same stitch)
V-inc = 1dc, 1ch, 1dc in the same stitch
FLO = work only through the front loop
BLO = work only through the back loop
st = stitch
row = row
(…) The number between these symbols indicates the number of stitches
[…] The text between these symbols is repeated the indicated number of times.
About the pattern
The example made corresponds to the newborn size. This romper is made top-down, starting with the collar assembly.
Instructions Bubela Romper (Newborn size)
Yoke
Turn your work at the end of each row and ch 3 at the beginning of each new row to replace the first dc. The V-inc is always worked in the chain space of the increase made in the previous row.
Chain 55.
- Starting in the second stitch from the hook, work 54sc (54)
- BLO 9dc, 1V-inc, 1dc, 1hdc, 3sc, 1hdc, 1dc, 1V-inc, 18dc, 1V-inc, 1dc, 1hdc, 3sc, 1hdc, 1dc, 1V-inc, 9dc (62)
- 10dc, 1V-inc, 1dc, 1hdc, 5sc, 1hdc, 1dc, 1V-inc, 20dc, 1V-inc, 1dc, 1hdc, 5sc, 1hdc, 1dc, 1V-inc, 10dc (70)
- 11dc, 1V-inc, 1dc, 1hdc, 7sc, 1hdc, 1dc, 1V-inc, 22dc, 1V-inc, 1dc, 1hdc, 7sc, 1hdc, 1dc, 1V-inc, 11dc (78)
- 12dc, 1V-inc, 1dc, 1hdc, 9sc, 1hdc, 1dc, 1V-inc, 24dc, 1V-inc, 1dc, 1hdc, 9sc, 1hdc, 1dc, 1V-inc, 12dc (86)
- 13dc, 1V-inc, 1dc, 1hdc, 11sc, 1hdc, 1dc, 1V-inc, 26dc, 1V-inc, 1dc, 1hdc, 11sc, 1hdc, 1dc, 1V-inc, 13dc (94)
- 14dc, 1V-inc, 1dc, 1hdc, 13sc, 1hdc, 1dc, 1V-inc, 28dc, 1V-inc, 1dc, 1hdc, 13sc, 1hdc, 1dc, 1V-inc, 14dc (102)
- 15dc, 1V-inc, 1dc, 1hdc, 15sc, 1hdc, 1dc, 1V-inc, 30dc, 1V-inc, 1dc, 1hdc, 15sc, 1hdc, 1dc, 1V-inc, 15dc (110)
- 16dc, 1V-inc, 1dc, 1hdc, 17sc, 1hdc, 1dc, 1V-inc, 32dc, 1V-inc, 1dc, 1hdc, 17sc, 1hdc, 1dc, 1V-inc, 16dc (118)
- 17dc, 1V-inc, 1dc, 1hdc, 19sc, 1hdc, 1dc, 1V-inc, 34dc, 1V-inc, 1dc, 1hdc, 19sc, 1hdc, 1dc, 1V-inc, 17dc (126)
- 18dc, 1V-inc, 1dc, 1hdc, 21sc, 1hdc, 1dc, 1V-inc, 36dc, 1V-inc, 1dc, 1hdc, 21sc, 1hdc, 1dc, 1V-inc, 18dc (134)
- 19dc, 1V-inc, 1dc, 1hdc, 23sc, 1hdc, 1dc, 1V-inc, 38dc, 1V-inc, 1dc, 1hdc, 23sc, 1hdc, 1dc, 1V-inc, 19dc (142)
- 20dc, 1V-inc, 1dc, 1hdc, 25sc, 1hdc, 1dc, 1V-inc, 40dc, 1V-inc, 1dc, 1hdc, 25sc, 1hdc, 1dc, 1V-inc, 20dc (150) This row marks the end of the raglan, which should measure approximately 10.5cm from the beginning of the neck to the armhole base, following the increase line.
Body
- BLO 21sc, 1sc in the ch sp of the previous row, 5ch (skip 31 sleeve stitches), 1sc in the next ch sp of the previous row, 42sc, 1sc in the ch sp of the previous row, 5ch (skip 31 sleeve stitches), 1sc in the next ch sp of the previous row, 21sc (98)
- 22sc, 5sc in the ch sp, 44sc, 5sc in the ch sp, 22sc (98)
- 98dc (98)
- 98sc (98)
- 1dc, [1fpdc, 1dc] × 48, 1dc (98)
- 98sc (98)
- 1dc, [1dc, 1fpdc] × 48, 1dc (98)
- 98sc (98)

Repeat rows 18 to 21 until the total length reaches 23cm or 13cm measured from the armhole. In the example romper, I made 18 more rows. Do not cut the yarn.

Back Flap
With the right side of the fabric facing you, turn the work 90° clockwise and work along the side edge (i.e., over the ends of the previous rows).
Work 1 dc along the edge of each row, approximately, ensuring the flap remains straight and even.
Fasten off and cut the yarn.

Make a second pass in sl st, maintaining the same direction as the previous row (upwards, from base to neck). Fasten off and cut the yarn.
Next, work an extra row of sl st to hide the join between the double crochet stitches and the side edge. Fasten off and cut the yarn.

Intermediate Fan Motif
At row 14, crochet a decorative fan stitch stripe to add texture and style to the romper.
Work only through the front loop that you left unworked in this row.
With the right side of the work facing you and the romper's neck facing down, add yarn to the left back side, make 1 sl st to secure the yarn and join it to the fabric.
Then continue with the fan sequence working FLO [5dc in the same front loop of the base stitch, skip one stitch, 1 sc, skip one stitch] Repeat until you reach the armhole.
Make the same motif on the front and on the right back side.

Separation of Front and Back
Now resume your work at the point where you left off before making the flap.
It's time to divide the fabric into two parts: first, the front is worked, and then the back, which will be slightly longer and wider to give shape and allow for the crotch opening.
To facilitate later work, place markers at the points where the separation occurs.
Mark stitch 24, leave 50 stitches for the front, mark stitch 75.
Front
Leave 6 stitches unworked on each side of the marker; you will only work the 38 central stitches.
Continue with the previous sequence of rows, starting with a reverse pass in sc.
From this first row, make 1 decrease at the beginning and end of each row until you have 10 stitches remaining, ending with a reverse sc row.
Fasten off and cut the yarn.
Back
Work the same as the front, decreasing at the beginning and end of each row until you have 10 stitches, and finishing with a reverse sc row.
In this section, layer the flap over the right front, joining both parts in the first sc pass, working the 3 central stitches together.


Without cutting the yarn, start a new row of sc all around the bottom edge of the piece, making 3 sc in the same stitch at each of the 4 corners. Close with 1 sl st.
Make a second row. In this row, the plackets will be formed in the central front and back of the piece. For each placket, work the following: (1 sc, 1 hdc, 1 dc) in the same st; then 8 dc; and in the next st, (1 dc, 1 hdc, 1 sc) in the same st.
Continue the row in sc and repeat the previous sequence to form the second placket on the opposite side. Finish the remainder of the row in sc and close with 1 sl st.
Make a final pass as a border in sl st. Fasten off and cut the yarn.
FINAL RESULT


