


Pearl Knitter
Knitter Pro


We continue to knit the perfect garments for this season. Today we're going to surprise you with this spring top designed by Pearl Knitter that you can adapt to your favorite colors. Do you dare?
7 balls C1, 4 balls C2 Rubí Natural Medium Cotton Color 011 (C1) and 004 (C2)
20cm short needles for the neck. Nº4
40cm short needles for the waist. Nº 4.5
60cm, 80cm and 100cm with regular circular needles for the body. Nº 5
9 markers.
Auxiliary needle.
Choose your favorite colors for this top through our online store.


PO: selvedge stitch
P: stitches
K: knit stitch
P: purl stitch
YO: yarn over.
KSDPF: knit stitch slipped with yarn in front in a purl stitch.
PSDBB: purl stitch slipped with yarn in back in a knit stitch, but taking it from the back.
(*): cable eight. Always 2k on auxiliary needle forward, knit the next 2k, and pick up those from the auxiliary needle and knit them.
SSI: simple increase.
SSP: simple increase in purl stitch.
DI: double increase. Knit 1 knit stitch, don't take it off the needle, yarn over, don't take it off the needle, and knit 1 knit stitch again.
R: row
/.../: continue knitting as indicated until the end of the row.
*_*: repeat the steps indicated between asterisks
TRN: turn needles (for neck shaping).
[..]: knit the indicated steps for the 2 side edges, distinguishing between left and right in odd rows.
C1: color 1
C2: color 2
M: marker
Right Side Edge [1ss/1p/1k/2p]
Left Side Edge [2p/1k/1p/1k]
Keep in mind that from R33, the edges include an increase on each side, the step-by-step instructions indicate how they should be. The edges in even rows are knitted as appropriate.
SIZE M
Adaptation to other sizes: consider the number of multiples, you should always add or remove 6 stitches on the front, and 6 stitches on the back, and do it proportionally.
Difficulty: Intermediate.


Cast on 50 sts with color C1 using the provisional tubular cast-on method, the first row results in 99 sts which when closing the circle will be 98 sts.
R1: 1k/ 1yo/ 1k/ 1yo/…/1yo/1k
At the end of this row, we must check that the stitches are not twisted. Once this is done, we must close the circle. Since the total number of cast-on stitches (99 sts) is an odd number, by closing the circle, we make it even, resulting in 98 sts. Close the circle by passing the first stitch you knitted to the right needle and placing the last stitch you knitted over it. Place the beginning-of-row marker there.
From R2 we will work the ribbing, which requires an even number of stitches, a multiple of 2.
R2: 1p/PSDBB/1p/PSDBB/…/ 1p/PSDBB
R3: 1KSDPF/1k/1KSDPF/1k/…/ 1KSDPF/1k
R4 = R2
R5 = R4
Knit following this pattern, respecting even and odd rows, until R20.
After knitting the 20 rows of ribbing, we will separate the stitches, holding 49 sts for the front and another 49 sts on hold for the back of the top. We begin knitting flat. The number of stitches for knitting each section of the bodice must be an even number and a multiple of 6 + 4. That is, 6×6=36+4+10=50 sts.
Therefore, we need to increase one stitch to obtain the desired number.
Within these 50 sts, we must distinguish the stitches intended for the edges that form the armhole and maintain the elastic stitch; each has 5 sts. The 36+4 are the stitches intended for knitting the cable stitch.
The cable stitch is a multiple of 6 (4 sts are for the cable, and 2 purl sts between each of them).
We will indicate the step-by-step instructions for both parts of the neck, covering R21 to R31.
R21: 1k/1p (2 sts) TRN
R22: 1ss/1k (2 sts) TRN
R23: 1ss/1p/1k/1p (4 sts) TRN
R24: 1ss/1p/2k (4 sts) TRN
R25: 1ss/1p/1k/2p/1k (6 sts) TRN
R26: 1ss/2k/1p/2k (6 sts) TRN
R27: 1ss/1p/1k/2p/4k (9 sts) TRN
R28: 1ss/3p/2k/1p/2k (9 sts) TRN
R29: 1ss/1p/1k/2p/4k/2p/1k (12 sts) TRN
R30: 1ss/2k/4p/2k/1p/2k (12 sts) TRN
R31: 1ss/1p/1k/2p/4k/2p/4k/2p (17 sts) TRN
Once this part is knitted, we set it aside and begin with the left side in the same row.
But first, once those 17 sts are knitted and we have formed the first part of the neck shaping, we must slip the central 15 sts to the right needle without knitting, then slip another 15 sts to the right needle without knitting, and these last ones will correspond to the left side of the neck shaping, leaving only 2 sts on it.
We continue knitting the neck shaping gradually following the next pattern for the left side of it
R21: 1ss/1k (2 sts) TRN
R22: 1ss/1k/1p/1k (4 sts) TRN
R23: 1ss/1k/1p/1k – (4 sts) TRN
R24: 1ss/1k/1p/2k/1p (6 sts) TRN
R25: 1ss/2p/1k/1p/1k (6 sts) TRN
R26: 1ss/1k/1p/2k/4p (9 sts) TRN
R27: 1ss/3k/2p/1k/1p/1k (9 sts) TRN
R28: 1ss/1k/1p/2k/4p/2k/1p (12 sts) TRN
R29: 1ss/2p/4k/2p/1k/1p/1k (12 sts) TRN
R30: 1ss/1k/1p/2k/4p/2k/4p/2k (17 sts) TRN
R31: 1ss/1p/4k/2p/4k/2p/1k/1p/1k (17 sts) TRN
We have finished each part of the front separately. In the next row, we will join them in the center with the 15 sts we haven't knitted yet, also making the simple increase we need to have 50 sts.
R32: 1ss/1k/1p/2k (left edge) 4p/2k/4p/2k/4p/2k/1ssp/3p/2k/4p/2k/4p/2k/4p/ (right edge) 2k/1p/2k (total 50 sts).
From now on, we begin increases on the edges and make the first cable crossings, but only on the first ones, since we don't have enough rows for the others, as the cable crossing is always done every 8 rows. You can place a marker behind and in front of each edge to distinguish them well.
Increases on the right edge are always made on the last stitch of the 2p, meaning on the 5th stitch, whether knit or purl, as appropriate.
Increases on the left edge are always on the first purl stitch, whether knit or purl, as appropriate depending on whether you are on an even or odd row.
R33: [1ss/ 1p/1k/ 2P/1 ssp] right edge. / (* Cable crossing)/2p/4k/2p/…/4p/2p/4p/
(* Cable crossing) [1ssp/2p/1k/1p/1k] left edge (52 sts)
R34: [1ss/1k/1p/3k]/4p/2k/4p/…/4p/2k/4p/[3k/1p/2k]
Even rows are knitted as stitches appear.
R35: [1ss/1p1k/2p/1ssp]/1p/4k/2p/4k/…/4k/1p/[1ssi/2p/1k/1p/1k] (54 sts)
R37: [1ss/1p/1k/2p/1ssi]/2p/4k/2p/…/4k/2p/[1ssi/2p/1k/1p/1k] (56 sts)
Follow the examples of these rows to see how the increases work and knit them as appropriate to maintain the Elastic Stitch.
In R41 and R49, the cable crossing must be done.
Knit up to R55. R56 is knitted as appropriate.
We place the front on hold and resume the back of the top, following the same steps as for the front.
Once we have knitted up to R56 of both parts, we join them and continue knitting in the round, in Stockinette stitch (always knit stitch)
To join the pieces and knit in the round, we start with the front, with the right side of the work facing us (in the left hand) and knit R57.
R57: 1ss/1p/1k/2p/4k/2p/… /2p/4k/2p/1k/1p/1k [we pass the needle to the left hand and we will increase 4 sts, and we put it back in the right hand to continue knitting the 2nd part: 1k/1p/1k/2p/4k/2p/…/2p4k/2p/1k/1p/1k, we increase 5 sts, place a marker between the 2nd and 3rd stitch of this last part, from this moment this will be the beginning and end of each row. The 1st time we increase 4 sts, the 2nd 5 sts, the 5th is to join the pieces, so it is eliminated when closing the circle. In this row we also make the cable crossings.
In total we have 156 stitches (74+74+4+4=156 sts)
The cable crossings are always done in odd rows; the next ones will be in R65, R73, R81, R89, R97)
We knit following the same pattern up to R101 in C1.
We will make 16 decreases, to end up with 140 stitches in R102.
R102: 17k/k2tog/4k/k2tog/4k/k2tog/4k/k2tog/4k/k2tog/4k/k2tog/4k/k2tog/4k/k2tog/
34k/k2tog/4k/k2tog/4k/k2tog/4k/k2tog/4k/k2tog/4k/k2tog/4k/k2tog/4k/k2tog/
17k.
R103: (color change) C2 and we will place 8 markers in the following order before knitting it: 17k/M/1k/M/34k/M/1k/M/34k/M/1k/M/34k/M/1k/M/17k
Where we indicate 1k is where the double increases (DI) will go, that is, knit 1 knit stitch, do not take it off the needle, yarn over, do not take it off the needle, and knit 1 knit stitch again. Once the markers are placed, we can knit R103 and make the double increases where they belong.
You must increase in all odd rows, according to where you have the markers.
In C2, from R103 to R112.
In C1 from R113 to R118
In C2 from R119 to R130
In C1 from R131 to R136
In C2 from R137 to R152
In C1 from R153 to R157
No more increases are made on this top.
Final border in Garter Stitch (R158 in purl, R159 in knit, R160 in purl, R161 in knit)
R162: bind off all stitches knitwise one by one.
Knitter Pro
Powered by Impulsafy
No comments yet — be the first!
Powered by Impulsafy
You are going to need...


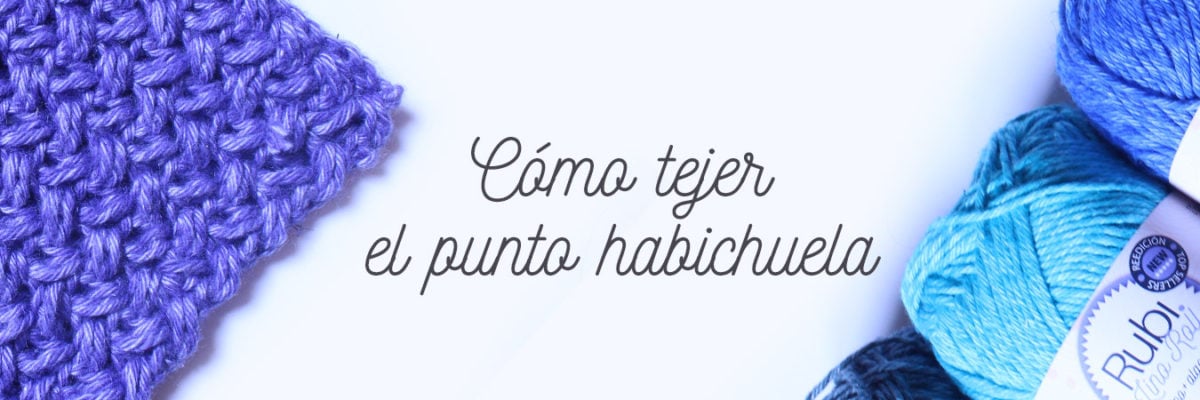
Learn how to crochet the Bean Stitch with Rubí Lino Roll yarn. The bean stitch is a dense stitch that creates a texture as if knitted with crossed stitches. It is a very versatile stitch that, tog...
Read more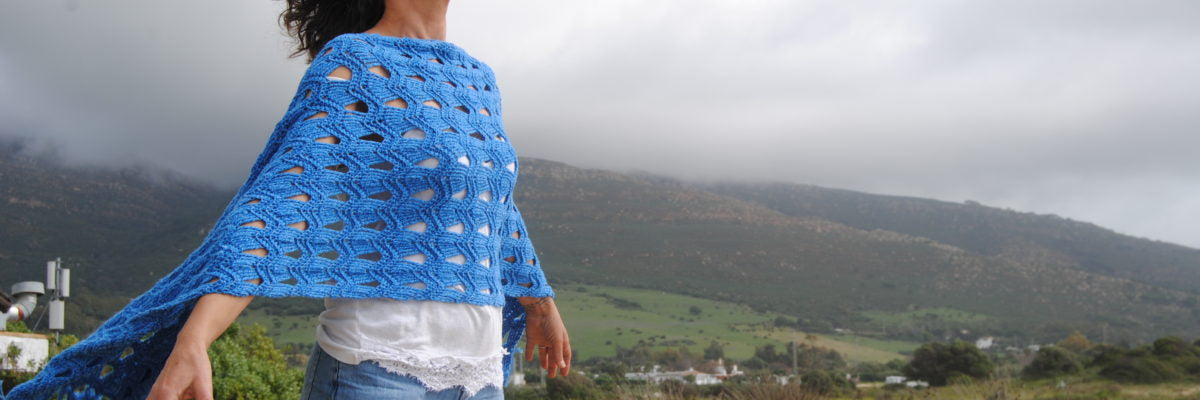
This Marea Shawl, with its original rectangular structure, will become your favorite for spring and summer evenings. Thanks to the cotton and linen blend of Rubí Roll, this garment has a spectacula...
Read more
SHIPPING IN 24 - 72 HRS
So you can start your work as soon as possible

FREE SHIPPING
From €30 purchase

CUSTOMER SERVICE
Telephone or WhatsApp 664 073 121
Or by email infoweb@lanasrubi.com

PAYMENT METHODS
Bizum, card, Google Pay, Apple Pay