

10+ Free Amigurumi Patterns and How to Crochet Them Step-by-Step
If you are looking for an amigurumi pattern for your next project, you are in the right place. We know how exciting it is to create your own knitted dolls.
Popular Amigurumi Patterns to Get Started

Decoration, keychain and Christmas patterns

Amigurumi Pattern Video
From material selection to the finishing touches, we will provide you with everything you need to make your amigurumi pattern perfect. Our goal is for you to fully enjoy the process, as knitting an amigurumi pattern is a creative and therapeutic technique.
What is an amigurumi pattern?
Amigurumi is a Japanese technique that combines crochet with the creation of wool dolls. The term comes from the words "ami" (knitted) and "nuigurumi" (stuffed doll).
Although its origin is Japanese, the popularity of amigurumi has grown worldwide. And it's not hard to understand why: amigurumis are charming, easy to make, and offer great satisfaction when you see the final result.
If you are new to crochet, starting with an amigurumi pattern is an excellent option. Unlike other more complex projects, amigurumis can be as simple or as detailed as you wish. In addition, they are not only perfect for a hobby, but they are also handmade gifts with great sentimental value.
Starting with an amigurumi pattern is the best way to improve your crochet skills while creating something adorable and functional.
Below, we explain what you need to get started.
What materials are needed to follow an amigurumi pattern?

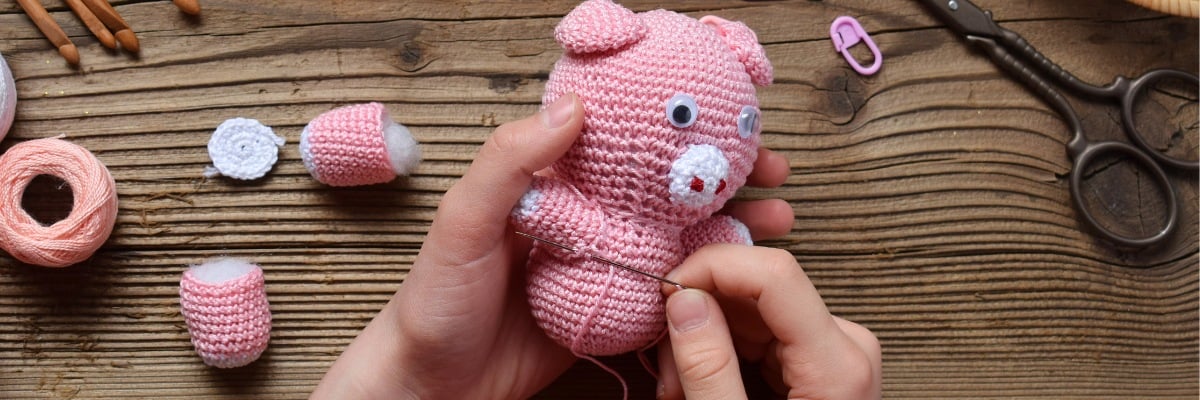
Before you start knitting your amigurumi pattern, it is essential to have the right materials on hand. Having quality tools will make your work easier and the end result a durable and aesthetically pleasing knitted doll.
- Yarn. You can choose between wool, acrylic, or cotton, the latter being the most popular due to its softness and ability to maintain shape. We recommend a medium-weight yarn to facilitate knitting and ensure a good body for the doll. In addition, this thickness will allow you to knit faster and with greater ease, ideal for beginners. You can play with different colors to personalize your amigurumi pattern.
- Crochet hook. The hook size depends on the yarn thickness, but a hook between 2.5 mm and 3.5 mm is ideal for knitting amigurumis. This size will allow you to create firm and compact stitches, essential to prevent the stuffing from showing through the fabric.
- Stuffing. The stuffing will give your amigurumi shape. You can use synthetic cotton, which is light and fluffy, or carded wool, which is firmer.
- Yarn needle. You will need a needle to sew the parts of the doll and hide the yarn ends. Make sure the eye of the needle is large enough to easily pass the yarn through.
- Stitch marker. This accessory is essential when working in a spiral, as is the case with an amigurumi pattern. It will help you mark the beginning of each round so you don't lose count of the stitches.
- Scissors. Sharp scissors are essential for cleanly cutting the yarn and ensuring the aesthetics and durability of your doll.
- Safety eyes (optional). If you want to give your amigurumi pattern a more professional look, consider using safety eyes. These are attached from inside the fabric and are ideal if the doll will be handled by children.
Tip: if this is your first time knitting an amigurumi, we recommend starting with a simple project and using a light-colored yarn. Dark yarns can make it difficult to see the stitches, which can become an additional challenge for beginners.
Amigurumi Pattern: The Essential Techniques
With the materials ready, it's time to start knitting.
The amigurumi pattern we are going to follow is basic, but fundamental for learning the essential techniques that will allow you to advance to more complex projects.
Magic Ring
The magic ring is the base of most amigurumis. This method allows you to start your round knitting without leaving a hole in the center, which gives a more polished finish to your doll.
How to make a magic ring for your amigurumi pattern?
- Wrap the yarn around two fingers to form a circle.
- Insert the hook into the circle, grab the yarn, and pull it through the circle.
- Chain one to secure the circle, then begin crocheting single crochets inside the circle.
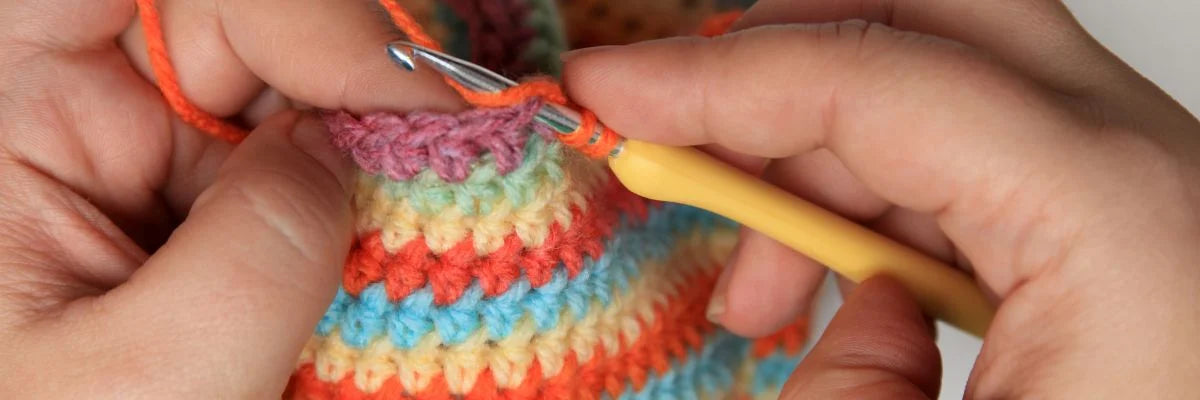
Single crochet
Single crochet is the most used stitch in amigurumi. It is a simple but effective stitch that results in a dense and compact fabric. Ideal for keeping the stuffing inside the doll.
To make a single crochet, insert the hook into the stitch, yarn over, and pull through the stitch. Then yarn over again and pull through both loops on the hook.
Amigurumi pattern increases and decreases
Increases are used to add volume to certain parts of the amigurumi, such as the head or body. To make an increase, simply crochet two single crochets into the same stitch.
Decreases, on the other hand, are used to reduce the number of stitches and taper the fabric in specific areas, such as the neck or limbs. To make a decrease, crochet two stitches together as if they were one.
Tip: practice these basic stitches several times before starting with your full amigurumi pattern. Mastering these techniques will make the process easier and ensure a more polished result.
Basic guide for knitting amigurumis step by step

Let's start with the basic pattern to create a simple but adorable amigurumi. This pattern is perfect for familiarizing yourself with the process of knitting in the round.
Head and body
-
Head:
- Begin with a magic ring of 6 single crochets.
- In the next round, make one increase in each stitch (12 stitches).
- Continue increasing in each round (18, 24, 30 stitches, etc.) until you reach 36 stitches.
- Crochet 6 rounds without increases to form the top of the head.
- Begin to decrease in the same way you increased, until you return to 6 stitches.
- Close the fabric and leave a long tail for sewing to the body.
-
Body:
- Repeat the process for the body, but this time, after reaching 36 stitches, start decreasing after 4 rounds of crochet without increases.
- Stuff the head and body before completely closing them.
Arms and legs
-
Arms:
- Begin with a magic ring of 6 stitches.
- Increase to 12 stitches and crochet in a spiral until you have the desired length.
- Lightly stuff before closing the arm and leave a long tail for sewing to the body.
-
Legs:
- Follow the same procedure as for the arms, but make the legs a little longer.
Assembly
- Use the yarn needle to sew the arms and legs to the body. Make sure they are securely attached.
- Sew the head to the body. Adjust tightly so there are no gaps between the pieces.
- If you have chosen to use safety eyes, place them before fully closing the head.
Tip: make sure to distribute the stuffing evenly in each part of the amigurumi. This will give the doll a better shape and prevent it from deforming over time.
Beyond the pattern: personalize your creation

Once you master the technique, you can personalize your amigurumis. Here are some ideas:
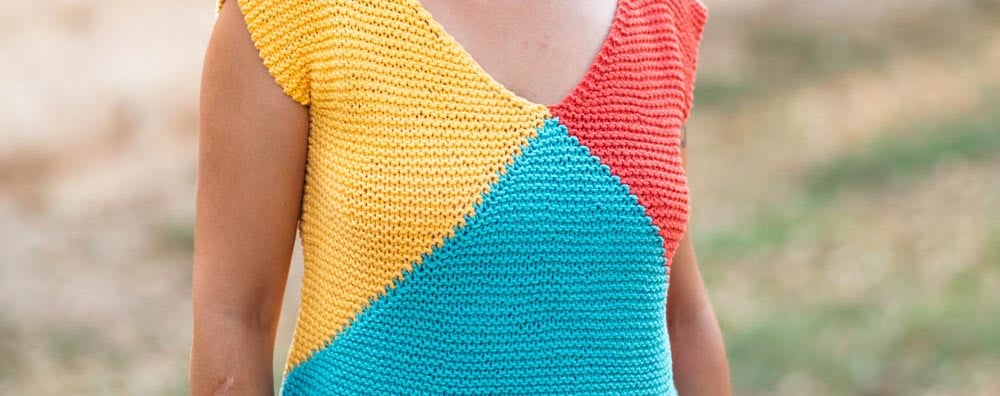
- Colors: play with color combinations. You can make stripes, patterns, or even add a color gradient using different shades of the same yarn.
- Accessories: add small details such as scarves, hats, bows, or any other accessory. This will give character to your doll.
- Shapes and sizes: vary the needle size or yarn thickness to create amigurumis of different sizes. You can even make an entire family of dolls of different sizes.
- Additional details: embroider additional details. Smiles, eyebrows, or rosy cheeks give a lot of personality to your amigurumi.
Tip: don't be afraid to experiment. Amigurumi is a very flexible art, and often, mistakes lead to new ideas.
Enjoy your amigurumi!
Now that you have an amigurumi pattern and all the basic knowledge to get started, it's time to get to work.
Creating your own amigurumi is not only a relaxing activity, but also a way to express your creativity. Remember that practice makes perfect, so don't be discouraged if your first amigurumi isn't perfect. Every project is an opportunity to learn and improve.
Frequently Asked Questions about Amigurumi Patterns
What is an amigurumi pattern?
Amigurumi patterns or tutorials are step-by-step instructions that tell you how to crochet an amigurumi or crochet dolls. They include details such as stitch types, the number of rounds, and how to join the parts of the doll so you can create figures like animals, characters, or even objects.
What does it mean to have an amigurumi?
Having an amigurumi means you have a handmade doll or figure made using the crochet technique. Amigurumis are popular for being cute and customizable, as they can be designed to look like almost anything.
What is the name of the amigurumi technique?
The technique used to make amigurumis is called crochet. It is a type of hand knitting made with a hook and yarn or wool.
Did you like this amigurumi tutorial? Don't hesitate to explore other patterns. This adorable cactus keychain pattern available on our website is also free with the purchase of the materials to knit it.

But we don't just have that one! We also invite you to discover our Amigurumi Solete. We are here to accompany you every step of your journey in the world of amigurumi patterns!


