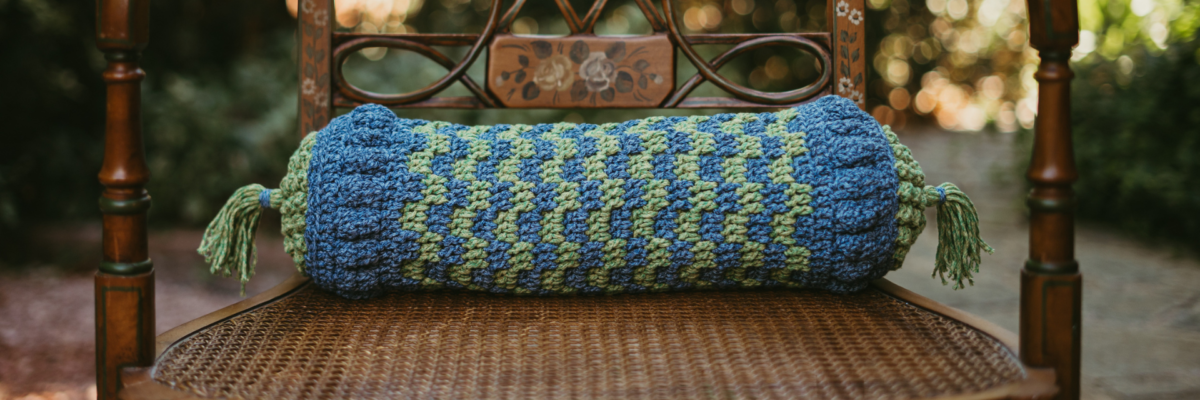
Our latest project is a creation proposed by our Knitter ProOwn Style DIY. The Mallorca Cushion knitted with Rubí Rayuela to give a touch of life to your spaces: Perfect for decorating the living room, the small sitting room, the bedroom or any corner of your home. Choose the best Rayuela shades and get knitting. You'll fall in love instantly!
Stitch markers if needed, scissors, and a tapestry needle.
BEFORE YOU START
This is a cylindrical cushion that you will start from one of the circular sides. From there, you will continue working in the round. The last step will be to stuff it and sew the other circular part.
The sides are made with popcorn stitch and the rest of the cushion is made with a combination of double crochets and chains that will form the cylindrical part.
Follow the diagram and step-by-step instructions to successfully finish your cushion. There is also a short explanatory video of the stitches.
STITCHES AND ABBREVIATIONS
HOW TO KNIT THE PATTERN?
Start with the chosen color.
Rnd 1.Make a magic ring with 6 sc inside. Close with sl st in the 1st st.
Rnd 2.Ch 3, 3 dc in the same st, insert the hook into the 3rd ch of the starting chain and pick up the loop from the waiting stitch to close it all together, close the stitch with a sl st (popcorn stitch), * ch 2, 1 popcorn st* repeat a total of 5 times. Close with sl st in the starting ch. You should have 6 popcorn sts separated by 2 ch.
Rnd 3.1 sl st in the ch space to position yourself and start making popcorn sts. Ch 3, 3 dc and close all together to form the popcorn st, * ch 1, 1 popcorn st* repeat 11 times in total. You should make 2 popcorn sts in each space, separated by 1 ch. Close with sl st in the starting ch. You will have 12 popcorn sts.
Rnd 4.1 sl st in the ch space to position yourself and start making popcorn sts. Ch 3, 3 dc and close all together to form the popcorn st, * ch 1, 1 popcorn st* repeat 17 times in total. Make 2 popcorn sts in one space and only 1 in the next, separated by 1 ch. Close with sl st in the starting ch, changing the yarn color when making this sl st. You will have 18 popcorn sts.
Rnd 5.1 sl st in the ch space to position yourself, make 3 sc in each space without any separation. Close with sl st in the 1st sc. 54 sc in total.
Rnd 6.Ch 3, 53 dc into the back loop of the previous sc.
Rnd 7.Ch 3, 1 dc, 4 dc in the same stitch, continue with the same sequence * 2 dc in the next 2 sts and 4 dc in the same st* repeat until the end. Close with sl st in the starting ch.
Rnd 8.Ch 3, 1 dc, 4 dc closed together, taking the 4-dc increase from the previous round. Continue with the same sequence * 2 dc in the next two sts and 4 dc closed together* repeat until the end. Close with sl st in the starting ch.
Rnd 9.Ch 3, 1 dc in each st, a total of 53 sts, plus the starting ch 54. The 4 dc closed together count as 1 st.
You are going to start with the combination of two colors, the first round, the 10th, is of the same color you have been using, then you will make two of each color. You can also refer to the video to do this part.
Rnd 10.Ch 3, 2 dc, * ch 3, skip 3 sts, from the 4th make 3 dc* repeat until the end. You have 3 sts left, ch 3, skip them and make 1 sl st in the starting ch, changing to the other yarn color. The color you are no longer using will be left waiting to be picked up two rounds above.
Rnd 11.Ch 3, skip the 3 dc, make 3 dc in front of the chs, meaning the chs are behind those sts. Do not crochet around them when making the dc. Continue with this sequence * ch 3, skip the 3 dc, make 3 dc in front of the chs* repeat until the end and close with sl st.
Rnd 12.Continue with the same color, ch 3, 2 dc in the next two dc of the different color, in this case, make the stitches around the chs. Continue with the same sequence * ch 3, skip the dc of the previous round, 3 dc * repeat until the end. Ch 3, skip the remaining 3 sts, close with sl st in the starting ch, changing to the other color that was waiting.
Rnd 13 - Rnd 45.With the color that was waiting, repeat rounds 11 and 12, change color again and continue repeating rounds 11 and 12, until you have 45 rounds. You will finish with a round similar to round 12.
Rnd 46.Continue with the same color, the other strand can be cut, leaving a few centimeters to secure it. Ch 3, the entire round in dc. 53 dc in total.
Rnd 47 – Rnd 48.Repeat rounds 7 and 8 successively.
Rnd 49. Ch 3, all in dc. 53 dc in total.
Rnd 50.Ch 1, 54 sc. Start from the first stitch without counting the starting ch as a stitch, in this round work into the back loop. Cut and leave a long tail to sew to the circle and close the cushion.
Make a circle the same as the beginning, but separately. This means repeating from round 1 to 4.
It is very important to stuff the cushion now and leave a little stuffing aside in case you need to add more before completely closing this part.
With the tapestry needle, you will join this circle to the rest of the cushion. For every three single crochets of the base, you will pick up a space of the circle between popcorn stitches, so that it is as similar as possible to the other end of the cushion.
Once finished, you can decide whether to add tassels or other decoration to the ends.
IT'S READY!!! Now you just need to find a nice spot in your house to put it.
FINAL RESULT
Sobre el autor
Equipo Lanas Rubí
Founders
Behind Lanas Rubí lies more than one hundred years of wool-making tradition at the service of haberdasheries, craft shops, and knitting enthusiasts. We work with knitting, crochet, amigurumi, and textile decoration, and on the blog we bring together that knowledge through patterns, tutorials, and yarn recommendations designed to help every project turn out beautifully.
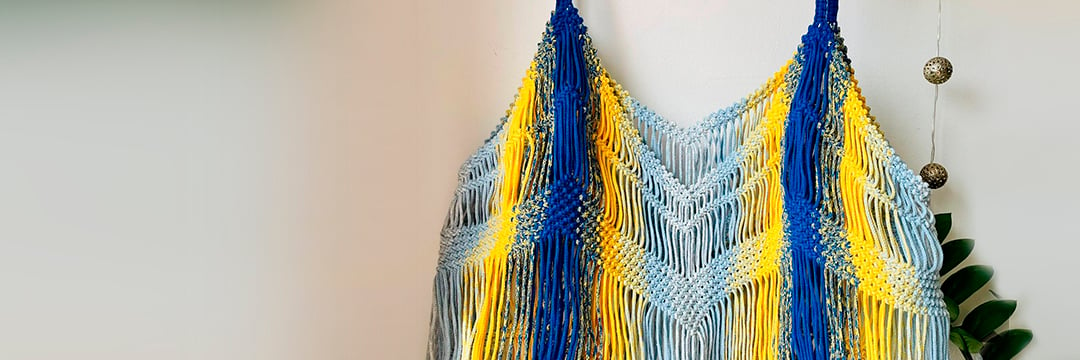
and the combination. Wearing cheerful tones is a must to match the most summery plans, and that's why we bring you a new pattern that fits perfectly. It's called Summer Top, designed by Beatrice’s...
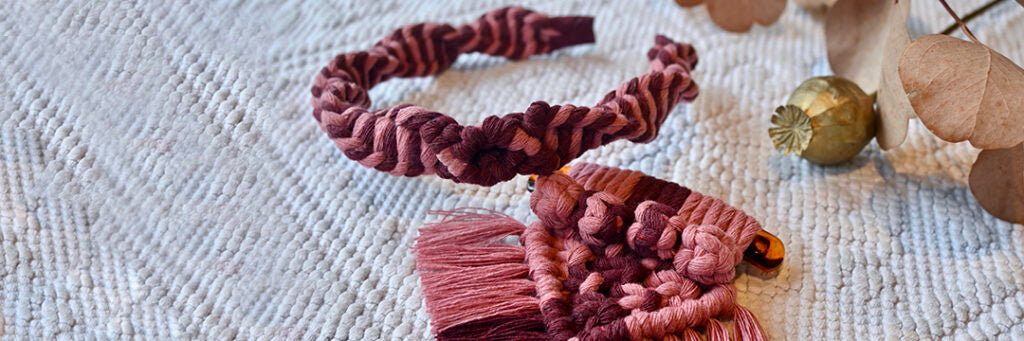
We haven't forgotten about hair accessories. Today we bring you a new pattern prepared by Drawing Knots , which is perfect for adorning your hair and being fashionable from head to toe (literally!)...