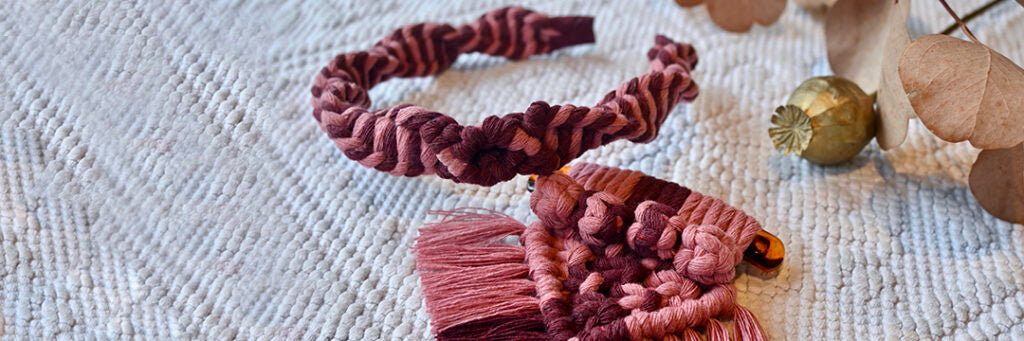
We haven't forgotten about hair accessories. Today we bring you a new pattern prepared by Drawing Knots , which is perfect for adorning your hair and being fashionable from head to toe (literally!). It's a lovely headband and barrette set woven with Rubí Nudos Urdimbre that will impress any macramé fan. Shall we get to work?
MATERIALS
(For the headband)
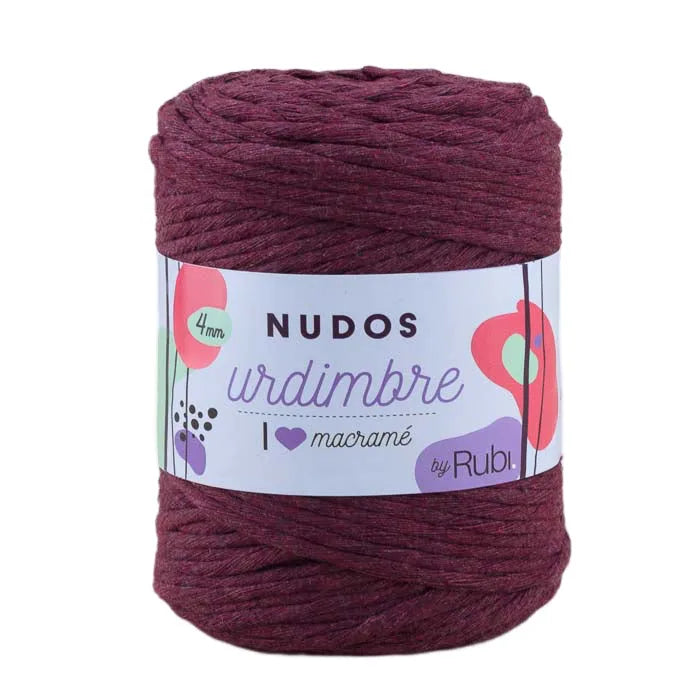
1 thread of 6.5 mt Rubí Nudos Urdimbre color 005
1 thread of 6.5 mt Rubí Nudos Urdimbre color 006
A thin headband, 1cm thick
Cotton ribbon in a color similar to 005 or 006
Some hot glue
ABBREVIATIONS
Half square knot: HSK
Clove hitch: CH
HOW TO MAKE THE HEADBAND?
Fold the first color 005 cord in half and pass it under our headband. Fold the two ends as if to make a half square knot (HSK). Close tightly, leaving a 1 cm gap.
Repeat the same with the other 6.5mt color 006 cord.

Since we are working with very long cords, they can be tied into a skein for each one. Now pass the left pink cord under the purple cord, and the right cord in front.
Close by making another HSK, as shown in the photo.
Continue tying the next HSK, this time passing the left purple cord behind, and the right cord in front of the pink cord.
Follow these steps, alternating HSKs until you pass the middle of the headband by 1-2 cm. Finish with the pink cord.
Use the left pink cord as a guide to tie a clove hitch (CH) with the purple cord, as shown in the photo.
Use the right pink cord as a guide, place it diagonally towards the center of the headband and tie a CH with the right purple cord. Place the left guide over the right and join the two pink cords with a CH.
Continue the same diagonal by tying CH with the right purple cord.
Use the left pink cord as a guide and tie a CH with the purple cord on the same side, to create the top part of a rhombus. Then fold the two pink cords towards the center and tie a CH with the purple cord, one on each side.

Cross the left pink cord over the right again, and close the rhombus with a CH. Continue tying a CH with the purple cord on both sides.
Now continue tying HSKs, first with the pink cord and so on, until you reach 1 cm from the other end of the headband.
With the help of a wool needle, pass the last cord through the side tip of the upper cord, and do the same with the other (the purple one in our case). Repeat on the other side, so that the cords remain as in the photo.
Cut off the excess cords flush.
Now cover the ends with a piece of cotton ribbon, first folding it along the edge and applying a drop of hot glue to the inside. 
Add another drop of glue to the inside and fold the two sides, closing tightly, as in the photos.
MATERIALS
(For the barrette)
6 threads of 1.10 mt Rubí Nudos Urdimbre color 005
2 threads of 1.10 mt Rubí Nudos Urdimbre color 006
A 9cm hair barrette
ABBREVIATIONS
Square knot : SK
Button knot: BK
Clove hitch: CH
HOW TO MAKE THE BARRETTE?
Fold the first 3 Rubí Nudos Urdimbre color 005 cords in half and tie them to our barrette with a larks head knot. Continue by adding the two Rubí Nudos Urdimbre color 006 cords and finish with another 3 color 005 cords.
Leave half a centimeter free at the top and tie three consecutive SKs with the first four cords. Pass the two central cords over, in the space we left free, to create the button knot (BK).
Pull and close the BK with a square knot underneath. Follow the same process with all subsequent cords, creating the first line of 4 BKs.
Tie a line of 3 SKs underneath, leaving the first two cords and the last two free. Then create another line of 2 SKs underneath.
Finish with one last central SK with the four purple cords.
Take the first pink cord from the left and place it over the others, towards the center.
Use this cord as a guide and tie CH with all the others, until you reach the center of the purple SK. Repeat on the other side.
Close the two guides with a final CH. Cut the fringes to about 4 cm long with scissors.
With the help of a comb, comb the fringes and adjust the cut line once more. Done!
FINAL RESULT





...)