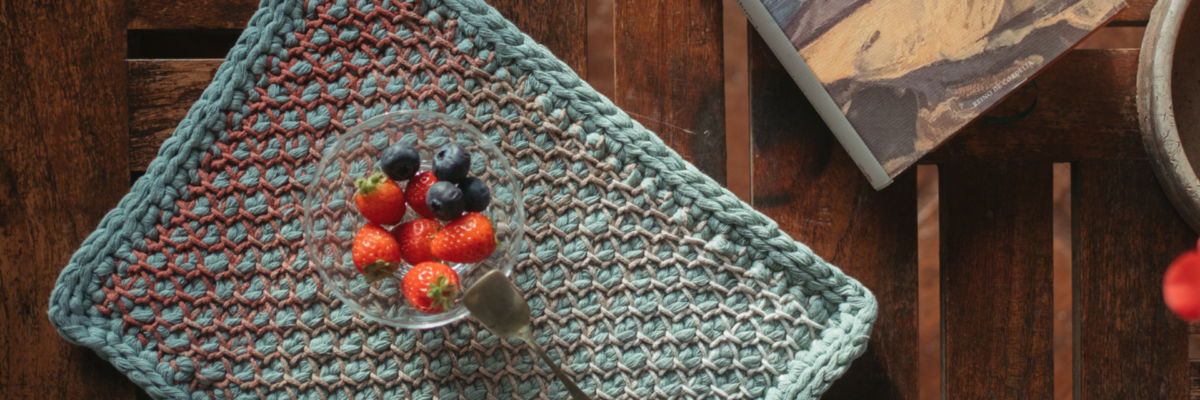
Protect your table with style! If you need a placemat for a snack on an outdoor table, this week's free pattern is your salvation. It's designed by Sheep Days and made with Rubí Imagina and Rubí Nudos Urdimbre. Don't miss it! We'll show you the step-by-step with its pattern and a video for support to learn how to knit the honeycomb stitch.
MATERIALS
Tunisian crochet hook 10 mm [US 15] or the size needed to achieve the correct gauge.
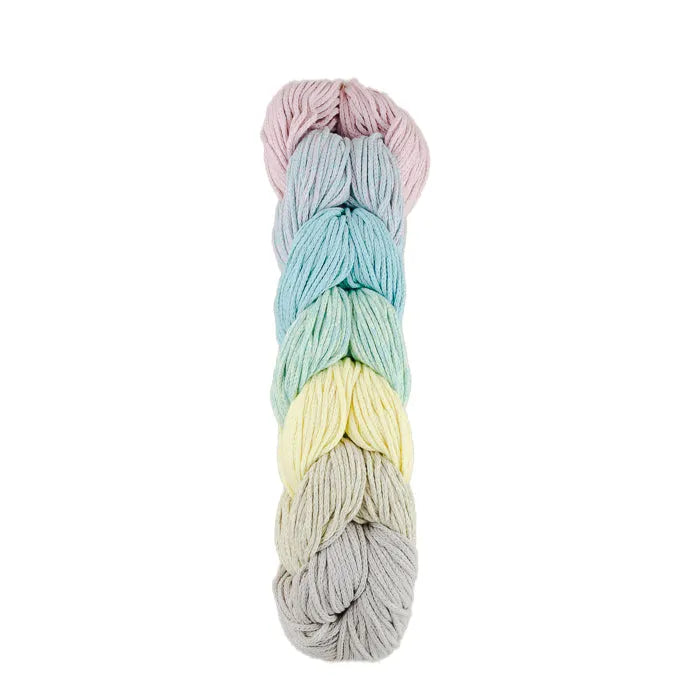
Rubí Imagina(80% Recycled Cotton / 20% Polyester. 250 g; 200 m) color 104
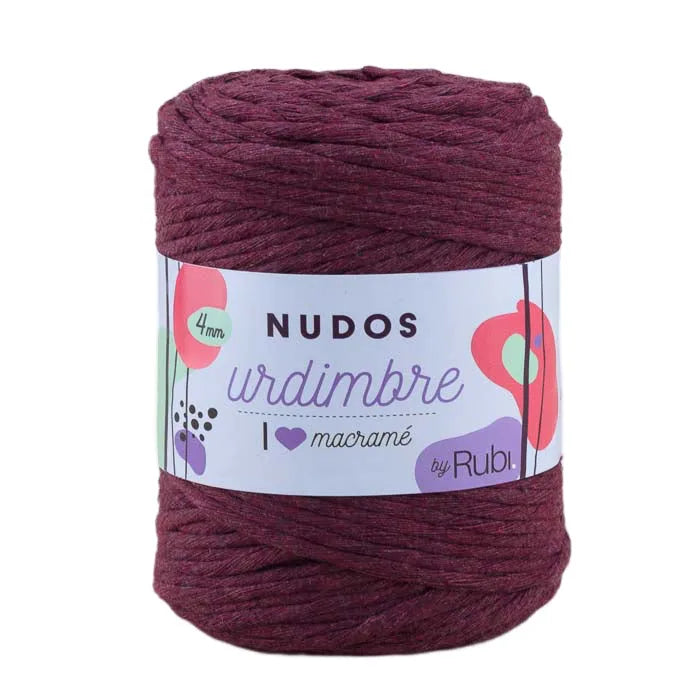
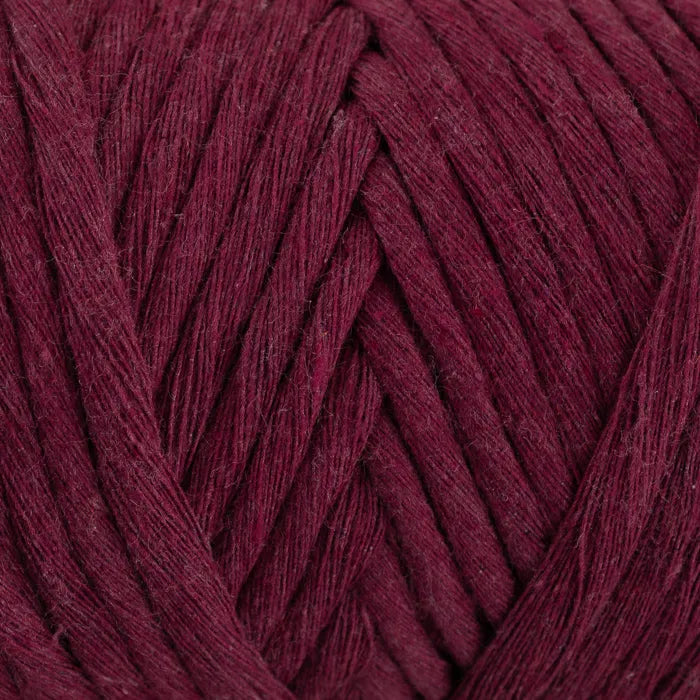
Rubí Nudos Urdimbre(80% Recycled Cotton / 20% Polyester. 500 g; 140 m) color 010
A finer crochet hook (6 to 8 mm) for weaving in ends and a stitch marker.
BEFORE YOU START
Gauge
11 st x 8 Rows = 10 x 10 cm (4 x 4”) inhoneycomb stitch(see techniques and construction)
Measurements
Width: 28 cm / 11 in.
Length: 38 cm / 15 in.
ABBREVIATIONS
A: Rubí Imagina
B: Rubí Nudos Urdimbre
ch: chain(s)
(RS): return pass
(FS): forward pass
st: stitch(es)
sc: single crochet
sl st: slip stitch
Tss: Tunisian simple stitch
Trs: Tunisian reverse stitch
Rnd: round
PATTERN
The body of the placemat is worked in Tunisian honeycomb stitch; you will work the first part of each Row (forward pass) with only yarn A and the second part (return pass) with both yarns. At the end of each Row, cut B, leaving about 10 cm of yarn to weave in later.
When you have finished the body of the placemat, you will work two rounds of regular crochet around it with yarn B to finish the piece with a plain colored border.
Honeycomb Stitch
With A and B held together, make an odd number of chains, cut yarn B leaving about 10 cm to weave in later, and work as follows:
Row 1(FS):With A only, pick up all stitches in the back bump of each chain.
Row 1(RS):Add B and work with both yarns, yarn over and pull through one loop; *yarn over and pull through two loops* repeat from * to * until the end. “Cheat” the last step as shown in the video to make the first stitch of the next row a Tunisian reverse stitch. Cut yarn B leaving about 10 cm to weave in.
Row 2(FS):With A only (remember that you already have the first stitch on the hook and it is a Trs), *1Tss, 1Trs* repeat from *to* until the end.
Row 2(RS):Add B and work with both yarns, yarn over and pull through one loop; *yarn over and pull through two loops* repeat from * to * until the end. Cut yarn B leaving about 10 cm to weave in.
Row 3(FS):With A only (remember that you already have the first stitch on the hook and it is a Tss), *1Trs, 1Tss* repeat from *to* until the end.
Row 3(RS):Add B and work with both yarns, yarn over and pull through one loop; *yarn over and pull through two loops* repeat from * to * until the end. “Cheat” the last step as shown in the video to make the first stitch of the next row a Tunisian reverse stitch. Cut yarn B leaving about 10 cm to weave in.
Repeat Rows 2 and 3 as many times as indicated.
Instructions
You will see that Rubí Imagina (A) has 7 small skeins; we will start with the one at the end and change it to create the gradient effect.
With both yarns and starting with the first color of A, make 27 ch, the last one will be the first stitch. Cut B leaving 10 cm of yarn to weave in later.
Work honeycomb stitch for 3 rows. Change to the second color of A in the last step of the last Row.
Work 4 Rows of honeycomb stitch with this color mix and change to the next color of A. Repeat until you reach the last skein of A. Work 3 Rows of honeycomb stitch and bind off all stitches following the stitch sequence (watch the video to see how to do it so that both sides look the same).
In total, you will have worked 26 Rows.
FINISHING
Cut A leaving 10 cm of yarn to weave in, secure the stitch on the hook (in B) with a stitch marker so you don't lose it, and with the finer hook, weave in all ends before continuing with the border.
BORDER
Place the stitch back on the 10 mm hook, make 1ch and work:
– 26sc along the long side of the placemat, 2ch to mark the corner.
– 20sc on the front loop of the starting chains, make them as follows: (3sc, skip one ch)x3, 2sc, (skip 1ch, 3sc)x3. 2ch to mark the corner.
– 26sc along the other long side, 2ch to mark the corner
– 20sc on the front loop of the bind-off chains, make them as follows: (3sc, skip one ch)x3, 2sc, (skip 1ch, 3sc)x3. 2ch to mark the corner.
– Close the round with a sl st.
Work 27 sl st, 1ch in the corner, 22sl st, 1ch, 28sl st, 1ch, 22 sl st, 1ch, 1sl st and finish with an invisible bind off.
Repeat from the beginning for the second placemat.
FINAL TOUCHES:
With the finer hook, weave in any remaining ends. No blocking is necessary.
FINAL RESULT
Sobre el autor
Equipo Lanas Rubí
Founders
Behind Lanas Rubí lies more than one hundred years of wool-making tradition at the service of haberdasheries, craft shops, and knitting enthusiasts. We work with knitting, crochet, amigurumi, and textile decoration, and on the blog we bring together that knowledge through patterns, tutorials, and yarn recommendations designed to help every project turn out beautifully.
Give your home a different touch! Decorate your reading nook with the Pompadour lamp, thanks to the free pattern designed by Anuskayhome, which you can find on our website. Are you up for it?
MATE...
If this cold affects us, imagine how it affects babies. At Rubí, we want the little one in the house to feel comfortable in their crib, and that's why we're giving you the free pattern for the Bl...


