MATERIALS
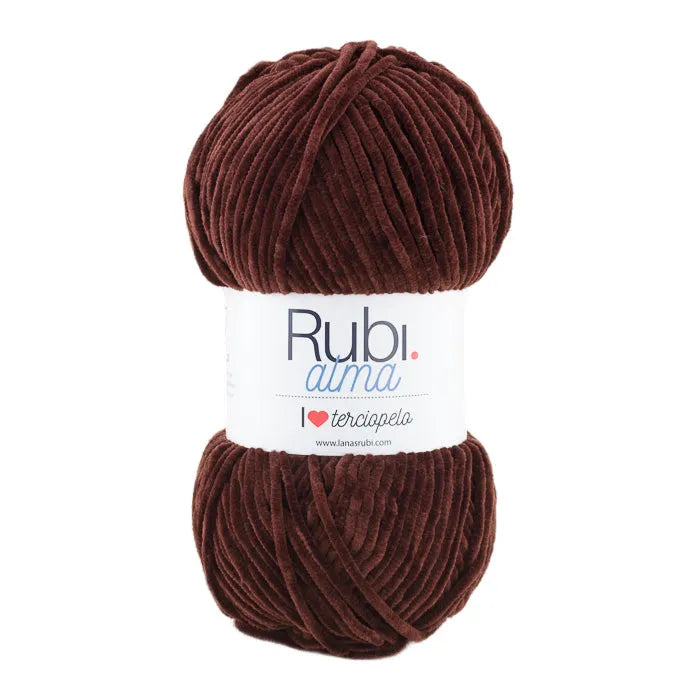
♥ 8 balls of Rubí Alma
♥ Crochet hook size 6
♥ Stitch markers
♥ Cushion stuffing (135x40 long pillow optional)
♥ Tapestry needle (optional)
ABBREVIATIONS
Chain stitch CH
Slip stitch SL ST
Single crochet SC
Double crochet DC
Popcorn stitch (6DCtog)
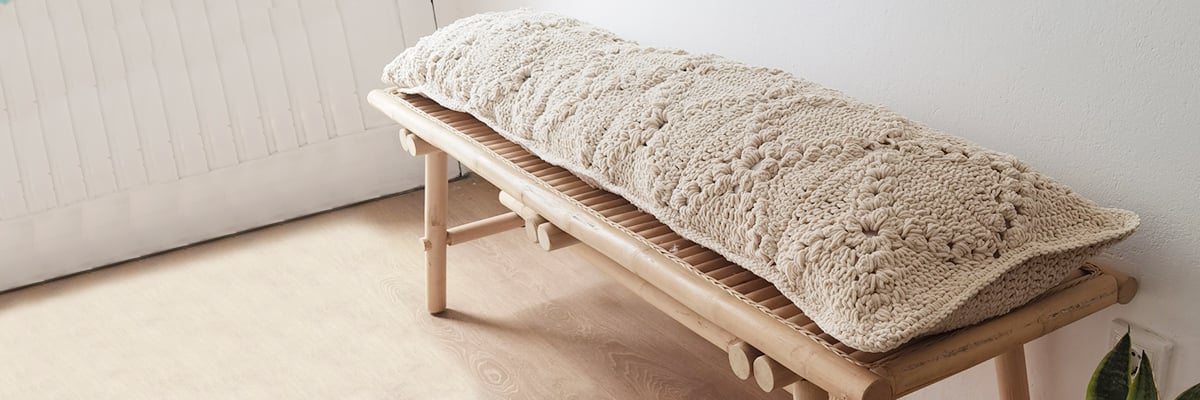
MEASUREMENTS
140x40 cm.
Piece made up of 14 granny squares that will be joined together.
STEP BY STEP
ROW 1
Chain 9 stitches and join the beginning and end with a slip stitch.
ROW 2
Chain 3 to go up
Inside the created circle, we are going to crochet 8 popcorn stitches as follows: yarn over, insert the hook into the circle, yarn over, pull up a loop (3 loops on hook), yarn over again and pull through 2 of them. Repeat this operation 5 more times until you have 7 loops on the hook, which are 6DCtog.
Yarn over and pull through all loops on the hook.
Yarn over and close.
Make 3 CH and create the next popcorn stitch inside the circle.
Continue until you have 8 popcorn stitches inside the circle, joined by 2 CH each.
ROW 3
Chain 3 to go up, and in the space of the previous popcorn stitch, make another 6DCtog popcorn stitch. Chain 2 and create another 6DCtog popcorn stitch over another popcorn stitch from the previous row (place a marker in the middle of these two popcorn stitches as this is our first corner).
Now, make 4 DC in the chains between the popcorn stitches of the previous row. Go to the second corner, make another 6DCtog popcorn stitch, chain 2, another 6DCtog popcorn stitch, and another 4 DC in the chains between the popcorn stitches of the previous row. Continue the same for the third corner and the last fourth corner.
ROW 4
Chain 3 to go up, and in the space of the previous popcorn stitch, make another 6DCtog popcorn stitch. Chain 2 and create another 6DCtog popcorn stitch over another popcorn stitch from the previous row (place a marker in the middle of the two popcorn stitches to identify the corners).
Now, make 8 DC in the chains between the popcorn stitches of the previous row. Go to the second corner, make another 6DCtog popcorn stitch, chain 2, another 6DCtog popcorn stitch, and another 8 DC on top of the DC from the previous row.
Continue the same for the third corner and the last fourth corner.
ROW 5
Chain 3 to go up, and in the space of the previous popcorn stitch, make another 6DCtog popcorn stitch. Chain 2 and create another 6DCtog popcorn stitch over another popcorn stitch from the previous row (place a marker in the middle of the two popcorn stitches to identify the corners).
Now, make 12 DC on top of the DC from the previous row. Go to the second corner, make another 6DCtog popcorn stitch, chain 2, another 6DCtog popcorn stitch, and another 12 DC on top of the DC from the previous row.
Continue the same for the third corner and the last fourth corner.
ROW 6
Chain 3 to go up, and in the space of the previous popcorn stitch, make another 6DCtog popcorn stitch. Chain 2 and create another 6DCtog popcorn stitch over another popcorn stitch from the previous row (place a marker in the middle of the two popcorn stitches to identify the corners).
Now, make 16 DC on top of the DC from the previous row. Go to the second corner, make another 6DCtog popcorn stitch, chain 2, another 6DCtog popcorn stitch, and another 16 DC on top of the DC from the previous row.
Continue the same for the third corner and the last fourth corner. After finishing the row, cut the yarn and weave in the end by hiding it between the previous row.
We now have our first granny square. In total, for this size, we need to crochet 14 pieces.

After crocheting the 14 pieces, join them together, making two rows of 7 granny squares each.

(You can join them with a tapestry needle or by taking the inner loops of each granny square).

CONTINUATION BACK PART
Once the top piece is constructed by joining all the granny squares, take the hook and insert it into a corner. Make a DC into each DC of our top piece (with this first row, we will join the two pieces). Continue by crocheting 20 rows of DC, one stitch for each DC of the previous row.
Now fold our crocheted piece like a book and put stuffing or a long pillow in the middle.
We can use stitch markers to help join the two pieces.
Let's finish joining the two pieces. In this case, insert the hook into one of the corners formed by the two pieces and make a complete round around the rectangle, crocheting one SC into each stitch, reaching the corner we started from. This way, our piece has no openings.
Now repeat two more rows of SC to create a defined border for our work.
It's a pleasure to share this pattern with you all, and you already know, if you have any questions, you can contact me through the Instagram profiles @anuskayhome and @arinuskas.
FINAL RESULT


%E2%99%A5%20Tapestry%20needle%20(optional)%0A%0AABBREVIATIONS%0A%0AChain%20stitch%20CHSlip%20stitch%20SL%20STS...)